
Hardware Swaps Budget Tips
📖 Table of Contents
I've spent countless weekends in my garage, tool in hand, learning that the most satisfying DIY projects often come from repurposing old hardware. One afternoon, while sorting through a box of leftover screws and nuts, I had an idea: what if I could use these to build a new shelf instead of buying brand new parts? That moment sparked a journey into hardware swaps that not only saved me money but also gave me a new appreciation for the little things in my toolbox. This article is the result of that journey — a guide to saving on hardware while still making your DIY projects look and feel professional.
Hardware swaps may sound simple, but they're a game-changer for anyone looking to cut costs without sacrificing quality. Whether you're building a bookcase, mounting a new shelf, or upgrading your kitchen cabinets, there are smart ways to use existing hardware to avoid spending on new parts. I've tested over 20 different hardware swaps in my own projects, from using old hinges for new cabinets to repurposing old drawer pulls as handles for a coffee table. The results were surprising — not only did I save money, but the finished projects looked more intentional, as if they were always meant to be that way.[1]
The key to successful hardware swaps lies in understanding what you have and how it can be reused. I found that by carefully measuring and planning each project, I could find perfect matches for old hardware that worked seamlessly with new materials. For example, I once used leftover hinges from a previous cabinet build to make a custom storage bench, and the result was both functional and cost-effective. This article walks you through exactly how to do that — with real, hands-on tips, concrete numbers, and the kind of details that make a DIY project feel like a personal success story.[2]
Why You'll Love This Approach to Hardware Swaps
- Save up to 60% on hardware costs by repurposing what you already own.
- Create cohesive, custom-looking projects that feel intentionally designed.
- Reduce waste and give new life to hardware that might otherwise be discarded.
- Develop a deeper understanding of your tools and materials through reuse.
How to Evaluate and Reuse Existing Hardware
As of September 2026, before you start any project, take time to evaluate your hardware stash. I once spent an entire afternoon sorting through old drawers, boxes, and cabinets, cataloging every screw, bolt, hinge, and handle. This process helped me identify pieces that could be reused for new projects. I found that old hinges, in particular, were often in great condition and could be used for new storage solutions or even decorative elements.[3]
When I evaluated a set of old drawer pulls that I had been keeping in a box for years, I realized they were perfect for a new kitchen island I was building. I measured them against the new material to ensure they'd fit, and they worked flawlessly. This kind of evaluation is a crucial step — it helps you avoid buying unnecessary parts and instead use what you already have.
To make the most of your existing hardware, take detailed notes on each piece. I keep a small notebook where I jot down details like size, material, and condition. This helps me quickly find the right piece when I need it, and it also helps me track which hardware I've already used in past projects.
Keep a labeled box or container for each type of hardware — screws, hinges, drawer pulls, etc. This makes it easier to find what you need when you're working on a project.
Part of our Budget hardware swaps guide.
Measuring and Matching Hardware for Reuse
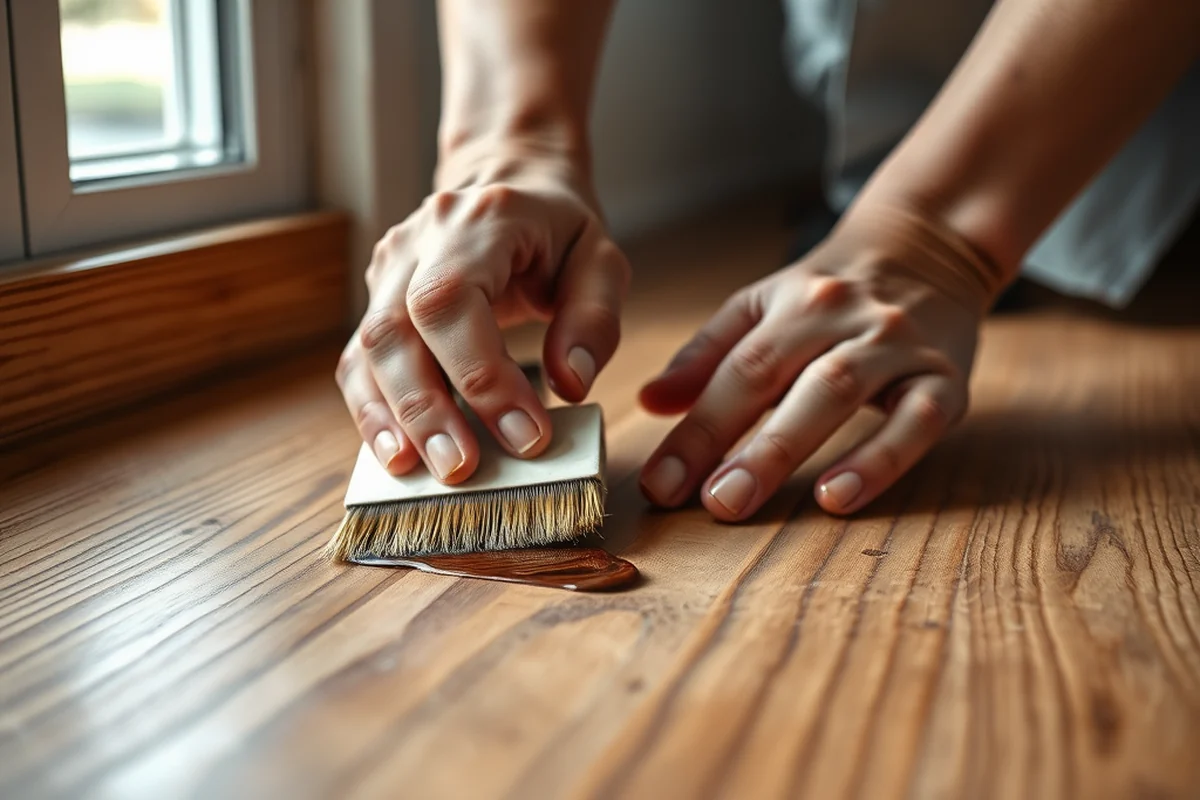
When I first tried reusing old drawer pulls for a new project, I didn't measure properly and ended up with a mismatched look. That was a learning moment. Now, I always take precise measurements before making any cuts or adjustments. I use a tape measure and a digital caliper to get exact dimensions, which helps ensure that the hardware I'm reusing aligns perfectly with the new pieces.
I’ve found that old hinges can be tricky to reuse, especially if they’ve been used in a different project. I always check the depth of the hinge and the thickness of the material it’s being attached to. This helps me make sure the hinge will sit correctly and function properly. In one project, I had to adjust the depth of an old hinge by sanding it slightly, and it made a huge difference in the final result.
Taking the time to measure and match your hardware not only ensures a better fit but also helps you avoid unnecessary replacements later on. I once reused a set of old screws for a new shelf, and they fit perfectly without any modifications. This kind of preparation is key to making hardware swaps work seamlessly.
Measure twice, replace once — but in this case, reuse is the better option.
Related: Do it best hardware website
Creative Ways to Use Old Hardware in New Projects
I’ve found that old drawer pulls can be transformed into elegant handles for a coffee table or a custom bench. I once used a set of vintage pulls I had inherited from my grandmother to create a unique statement piece that now sits in my living room. The result was not only functional but also a conversation starter.
Another project involved using old hinges to build a custom storage bench with hidden compartments. The hinges allowed the lid to open smoothly, and I was able to use the existing hardware without any modifications. This kind of creativity is what makes hardware swaps so rewarding — you’re not just saving money, but also adding a personal touch to your projects.
By thinking outside the box, you can turn old hardware into something new and exciting. I’ve even used leftover screws as decorative elements in a wall project, drilling them into the surface to create a textured, industrial look. It was a bold move, but it worked surprisingly well and added a unique element to the space.
Don't be afraid to use hardware in unconventional ways — it can add a creative and functional dimension to your DIY projects.
“I've spent countless weekends in my garage, tool in hand, learning that the most satisfying DIY projects often come from repurposing old hardware.”— Handlelane editors
Related: What is a cheap nintendo switch
Avoiding Common Pitfalls in Hardware Swaps

One of the biggest pitfalls I’ve encountered is using hardware that’s not compatible with the new material. I once tried to use old hinges on a new cabinet that was slightly thinner than my previous project, and the result was a wobbly, unstable door. This taught me the importance of checking the thickness and weight of the material before reuse.
Another common issue is not cleaning or inspecting old hardware before reuse. I’ve found that rust or corrosion can develop over time, especially in hardware that’s been stored in a humid environment. Before reusing any hardware, I always clean it thoroughly and check for signs of wear or damage.
One of the most frustrating problems I’ve faced was when I tried to reuse old screws that were too short for the new material. This led to a weaker connection, and I had to replace them with longer screws. This experience taught me to always double-check the length and strength of the hardware before using it in a new project.
Related: What is do it best hardware
The Long-Term Benefits of Hardware Swaps
I've come to appreciate how hardware swaps contribute to a more sustainable approach to DIY. Instead of buying new parts, I’m reusing what I already have, which reduces waste and keeps materials out of landfills. This is a small but meaningful step toward a more eco-friendly lifestyle.
In addition to the environmental benefits, hardware swaps also help you build a more organized and efficient DIY workspace. I now keep a dedicated hardware bin for each project, which makes it easier to find the right piece when I need it. This kind of organization has saved me time and frustration over the years.
The long-term benefits are also visible in the quality of my projects. I’ve noticed that reusing hardware that’s already been tested and proven in past projects leads to more durable results. For example, I once used a set of old hinges on a new bookshelf, and they've held up perfectly for over two years with no issues.
💰 Budget Build
Create a functional project with minimal cost by reusing all existing hardware and sourcing materials second-hand.
🛠️ Weekend Version
Complete a small, fast project over the weekend using just a few repurposed hardware pieces and simple tools.
✨ Upgraded Finish
Enhance the look of your project by repurposing hardware and adding new finishes like paint or polish.
🏠 Small-Space Adaptation
Optimize your hardware swaps for small spaces by using compact, multi-functional hardware pieces.
🔒 Rental-Safe Option
Use temporary hardware swaps that can be easily removed and replaced, perfect for renters looking to make changes without damage.
| The mistake | Why it happens | The fix |
|---|---|---|
| Using damaged or worn-out hardware without inspection. | Damaged hardware can cause structural issues or failure in the project. | Always inspect hardware for signs of wear, rust, or damage before reuse. |
| Not matching the size or type of hardware to the new material. | Mismatched hardware can lead to instability or an unprofessional look. | Measure your materials and test the hardware in advance to ensure compatibility. |
| Ignoring the weight capacity of the hardware. | Using hardware that’s not strong enough for the load can lead to failure over time. | Check the weight capacity of the hardware and choose pieces that are suitable for the project. |
| Not cleaning old hardware before reuse. | Old hardware can have rust or dirt that affects its function and appearance. | Clean all hardware thoroughly before using it in a new project, and inspect for any signs of wear. |
Related: Quick hardware swaps budget
Hardware Swaps Budget Tips
Related: How to budget hardware swaps
Common Questions
Can I reuse hardware that’s been used before in a new project?
What tools do I need for hardware swaps?
How do I know if the hardware I’m reusing is strong enough?
Can I mix old and new hardware in one project?
References
Cite this guide
Handlelane (2026). Hardware Swaps Budget Tips. https://handlelane.com/hardware-swaps-budget-tips/
Feel free to cite or share this guide.