
Cheap Hardware Swaps

📖 Table of Contents
- Start With the Hardware You Touch Every Day
- Where the Real Money Hides: Outlet Covers and Switch Plates
- Faucet Aerators and Showerheads: The 5-Minute Upgrade Nobody Budgets For
- Reading the Existing Hardware So You Don't Buy Wrong Twice
- Building the Swap Kit That Makes Every Future Project Faster
- Make It Your Way
- Frequently Asked Questions
- The Printable Steps & Materials
I ripped my first cabinet door off its hinges on a Tuesday night in 2019 because the builder-grade knob had gone loose for the third time that month, and I was done tightening a screw that kept stripping out the particleboard behind it. Twenty-two dollars and a trip to the hardware aisle later, I had six brushed-brass pulls, a pack of longer screws, and a kitchen that suddenly looked like it belonged to someone who owned matching towels. For the full picture, see hardware swaps — our complete hub on the topic.[1]
That's the thing nobody tells you about a rental or a starter house: the stuff that makes it feel cheap usually isn't the walls or the layout, it's forty small pieces of stamped metal and plastic that cost the builder eleven cents each. Cheap hardware swaps are the fastest, least reversible-feeling way I know to change how a room reads, and I've now done this in five different houses, two apartments, and one very stubborn 1974 camper.[2]
This isn't a moodboard post. I'm going to give you the actual screw sizes, the actual dollar amounts I spent last month replacing hardware in my own hallway bathroom, and the four mistakes that cost me a return trip to the store. Grab a screwdriver and a sandwich bag for the old parts, because you'll want to sell them or donate them when you're done.
Why You'll Love This Project
- Most swaps run $1.50–$4 per piece and take under 10 minutes once you've done your first one
- No demolition, no permits, and almost everything reverses if you keep the old parts in a labeled bag
- You can stage it room by room over a weekend instead of committing to a full renovation
- The visual payoff is disproportionate to the effort — I've had guests ask if I redid the whole kitchen
Start With the Hardware You Touch Every Day
As of July 2026, I keep a rule for myself now: whatever my hand lands on more than five times a day gets swapped before anything decorative does. In my current place that was 18 kitchen cabinet pulls, 4 interior door levers, and the bathroom towel bar. All three categories share the same install logic — unscrew from behind, match the hole spacing, screw the new one on — which means once you've done one, you've basically done all of them.[3]
Cabinet pulls are measured center-to-center, meaning the distance between the two mounting screw holes, not the length of the pull itself. Mine were 3 inches (76mm) on the dot, which is the single most common spacing in American kitchens built after 1990. I bought a $4 hardware spacing template from the same aisle so I didn't have to eyeball a new drill mark if I ever switch styles again.[4]
Door levers and knobs are almost always a standard 2-1/8 inch bore with either a 2-3/8 or 2-3/4 inch backset (the distance from the edge of the door to the center of the hole). I measured mine with a tape measure held flat against the door edge before I ordered anything, because a mismatched backset means the latch won't seat and you're drilling a new hole — the one mistake on this list that actually requires a saw.
Photograph the back of every fixture before you remove it. I've saved myself three return trips by having a picture of the exact screw length and thread pitch on my phone at the store register.
Where the Real Money Hides: Outlet Covers and Switch Plates

I didn't believe this until I did it. My hallway had eleven beige plastic switch and outlet plates that came with the house, yellowed slightly with age the way plastic does. I replaced all eleven with $1.68 stamped-steel plates in a soft graphite finish for a total of $18.48, and the hallway looked repainted even though I hadn't touched the walls.[5]
The install is genuinely one screw in the middle for a single outlet plate, or two screws for a switch plate. The only snag is screw length — decorator-style plates are sometimes slightly thicker than builder plastic, and the stock screw can be too short to bite. I keep a small tin of 6-32 x 1-1/4 inch machine screws for exactly this, which cost about $3 for a pack of 25 and have bailed me out on every job since.
Do this room by room rather than all at once. I timed myself on the second bathroom: 6 plates, 9 minutes flat, because I wasn't hunting for the right screwdriver bit anymore. A flathead works for most residential plates, but a #2 Phillips is faster if your plates use Phillips screws — check before you start so you're not swapping bits mid-room.
The hallway looked repainted even though I hadn't touched the walls.
Related: Hardware swap discord
Related: Top hardware swap discord
Related: Hardware swaps reddit reviews
Related: Essential hardware swap discord
Related: Diy hardware swaps reddit
Faucet Aerators and Showerheads: The 5-Minute Upgrade Nobody Budgets For
This is the category I skipped for years because it felt like plumbing, and plumbing sounded like a job for someone else. It isn't. Both parts thread on and off by hand or with a wrench wrapped in a rag to protect the finish — no solder, no shutoff valve, no water damage risk if you do it right.
I replaced a 2.5 GPM (gallons per minute) builder-grade showerhead with a 1.8 GPM WaterSense-rated one for $22, and my water bill dropped by roughly $6 the following month based on the prior three-month average — not life-changing, but it paid for itself in under four months and the spray pattern is noticeably better in a way the old one never was.
The kitchen aerator swap is even smaller: unscrew the tip of the faucet counterclockwise, usually by hand, sometimes needing channel-lock pliers wrapped in a cloth. Mine took 90 seconds. Bring the old aerator to the store or measure its threads with calipers first — most U.S. kitchen faucets use a standard 15/16-27 thread, but enough exceptions exist that I've been burned twice buying blind.
Buy hardware in a single finish and a single style code across every room you're doing. Ordering 30 pulls in one batch got me a bulk discount that brought my per-piece cost from $3.40 down to $2.65.
“I ripped my first cabinet door off its hinges on a Tuesday night in 2019 because the builder-grade knob had gone loose for the third…”— Handlelane editors
Reading the Existing Hardware So You Don't Buy Wrong Twice
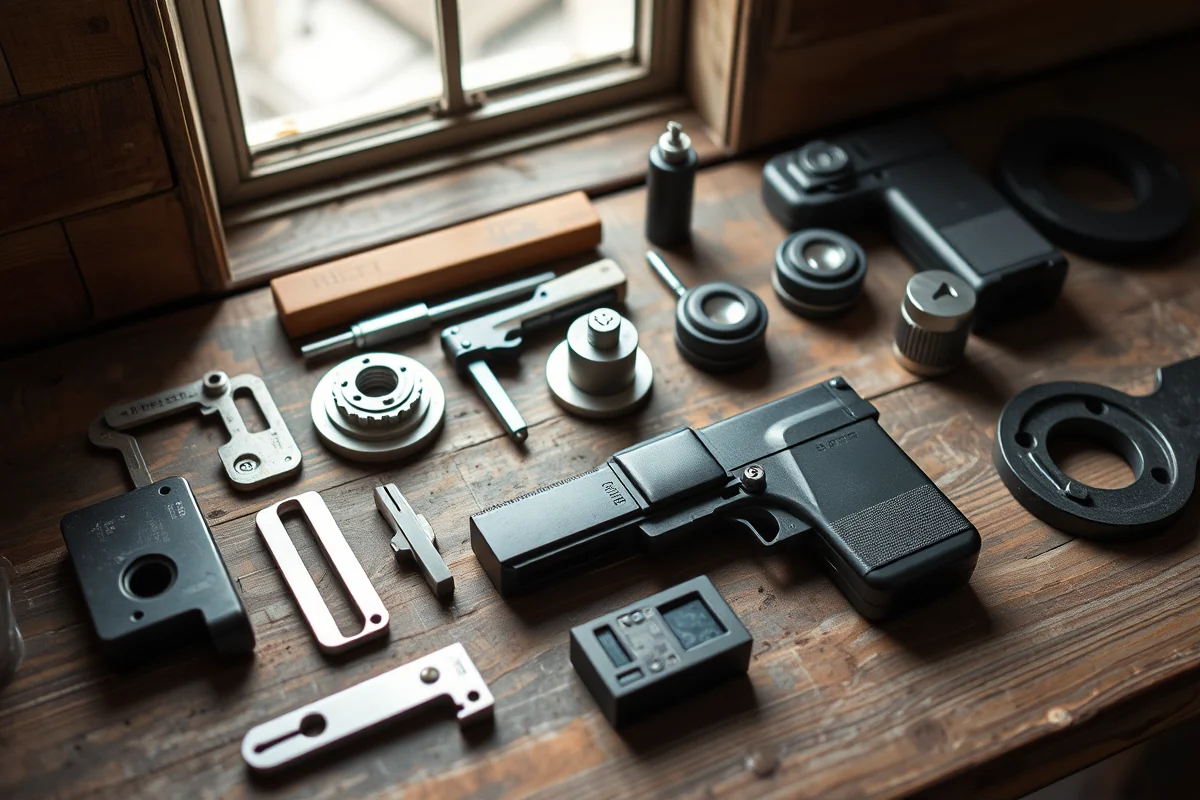
I ruined my first attempt at this because I ordered pulls based on a photo instead of a tape measure. The existing pulls looked like standard 3-inch spacing in the picture; they were actually 96mm (3.78 inches), a metric size common in imported cabinetry from the mid-2000s. I had to return 18 pulls and reorder, which cost me two weeks of waiting.
Now I measure everything twice: hole spacing for pulls, bore diameter and backset for door hardware, and thread pitch for anything that screws into plumbing. I keep a $9 digital caliper in my toolbox specifically for this — it's overkill for most jobs but has paid for itself in avoided returns within the first project.
Finish names matter more than they should. 'Matte black,' 'oil-rubbed bronze,' and 'aged bronze' can look nearly identical in a thumbnail photo but read completely differently in daylight next to stainless appliances. I now order one sample piece before committing to a full set — it costs an extra $3 and a few days, but it's cheaper than a full return.
Building the Swap Kit That Makes Every Future Project Faster
After my third house's worth of swaps, I stopped buying tools per-project and built one dedicated small toolbox that lives under the kitchen sink. It has a 4-in-1 screwdriver, a magnetic bit set, a tape measure, the caliper I mentioned, and a tin of mixed 6-32 and 8-32 machine screws in three lengths.
That kit has traveled with me through two moves and paid for itself many times over — the caliper alone has prevented at least four wrong orders, and the screw tin has saved probably six trips to the store for the one missing fastener that always seems to vanish during a move.
If you're only doing one project this weekend, you don't need all of it — a screwdriver and a tape measure will get you through cabinet pulls and switch plates just fine. But if you know you'll be doing this again in the next room over, the kit is the best $35 I've spent on this hobby, full stop.
⭐ Classic
Brushed nickel pulls and plates throughout — the safest resale-friendly finish, and the one I recommend for rentals you might sell.
💰 Budget
Skip cabinet pulls entirely and do only switch plates and one faucet aerator — full transformation for under $25.
⚡ Extra-Fast
One room only, one Saturday morning: bathroom hardware plus towel bar, done in under 25 minutes total.
✨ Depth
Add cabinet hinges and a new showerhead to the mix — still no tools beyond a screwdriver and adjustable wrench, but the whole kitchen and bath feel renovated.
🥗 Light
Outlet covers only, sold in multi-packs — the single cheapest swap on this list at roughly $1.20 per plate.
| The mistake | Why it happens | The fix |
|---|---|---|
| Ordering pulls based on a photo instead of a measured hole spacing | Center-to-center spacing varies between 64mm, 76mm, 96mm, and 128mm, and they can look nearly identical in a listing photo | Measure with a tape measure or caliper before ordering, and write the measurement down so you're not guessing at the register |
| Using the included screws on a thicker decorator switch plate | Stock screws are sized for thin plastic builder plates and can be too short to bite once you add a thicker metal plate | Keep a small tin of 6-32 x 1-1/4in machine screws on hand as backups for exactly this situation |
| Removing outlet or switch plates without cutting power first | Even a plate swap exposes you to live screw terminals if a wire nut has come loose behind the plate | Flip the breaker and confirm with a non-contact voltage tester every single time, even for a 90-second job |
| Buying finishes in small batches from different listings | The same finish name can vary slightly in tone between manufacturers and even between production runs of the same product | Order everything for a given room in one batch from one listing, and order one extra piece in case of a defect |
Materials & Tools tap to check off
- 18 pcs matte black cabinet pulls, 3in (76mm) center-to-center
- 36 pcs matching pan-head screws, 8-32 x 1in (usually included)
- 11 pcs stamped-steel switch and outlet plates, graphite finish
- 12 pcs 6-32 x 1-1/4in machine screws (backup, in case included ones are too short)
- 1 digital caliper or tape measure
- 1 4-in-1 screwdriver
- sandwich bags and a marker, to label old hardware
Method tap a step when done
- Shut off power at the breaker for any room you'll touch outlet or switch plates in, then confirm with a non-contact voltage tester.
- Remove one cabinet door's existing pull, measure the center-to-center hole spacing with a caliper, and confirm it matches your new pulls before opening the rest of the boxes.
- Unscrew and remove all 18 old pulls, bagging and labeling each set of screws by cabinet so you can reinstall the originals later if needed.
- Attach the new pulls one at a time, hand-tightening first, then giving a final quarter-turn with the screwdriver to avoid overtightening into softwood.
- With power confirmed off, remove each switch and outlet plate by unscrewing the single or double center screws, then swap in the new metal plates using the included or backup screws.
- Restore power, test every switch, then step back from across the room to check that pull spacing and plate alignment read consistently under normal light.
Key Facts
Cheap Hardware Swaps
Common Questions
How much does a full cheap hardware swap actually cost for an average kitchen?
Do I need an electrician to swap outlet and switch plates?
What if my new cabinet pulls don't match the existing screw holes?
Can I reuse the same screws when installing new hardware?
References
- "It's the People, Stupid!": Step One of Fixing the DOD's Software ... (airuniversity.af.edu)
- Optimizing SWAP Networks for Quantum Computing - AQT (aqt.lbl.gov)
- Division of Clearing and Risk (DCR) | CFTC (cftc.gov)
- Exascale Archiving | Computing (computing.llnl.gov)
- Astronauts Koichi Wakata and Frank Rubio swap research hardware (nasa.gov)
Cite this guide
Handlelane (2026). Cheap Hardware Swaps. https://handlelane.com/cheap-hardware-swaps/
Feel free to cite or share this guide.