
Simple Hardware Swaps Before
📖 Table of Contents
There’s something deeply satisfying about standing in your own home, looking at a project you just finished, and realizing it was all done with tools you already had. I remember the first time I tried a simple hardware swap on a cabinet door — it took me less than an hour, and the difference in how the space felt was immediate. It wasn’t just about aesthetics; it was about control, about knowing that I could fix things without waiting for someone else. That moment sparked my love for DIY hardware swaps, and now I can’t imagine living without that sense of agency.
Before exploring this article, I want to be clear: these aren’t complicated overhauls. They’re small, thoughtful changes — like upgrading a doorknob, swapping out drawer slides, or replacing a hinge. Each swap takes little time, costs even less, and can dramatically affect how your home feels. I’ve tested these swaps in my own apartment and with friends, tracking the time, cost, and results. What I’ve learned is that even the smallest hardware swap can have a big impact, especially when you’re ready to take control of your space.
The beauty of these swaps is that they’re accessible — you don’t need a degree in carpentry, and you don’t need an entire toolbox. In fact, I’ve done most of these projects with just a screwdriver, a pair of pliers, and a few spare parts from old projects. I’m not saying these swaps are for everyone, but if you’re looking for a way to make your home feel more like yours, this is the place to start. With just a little time and a few simple tools, you can make your home work better for you.
Why You'll Love This Simple Hardware Swap
- Transform your space with minimal effort and cost
- Boost functionality without major renovation
- Customize your home to fit your lifestyle
- Enjoy the confidence that comes with DIY
Why Upgrade Cabinet Hardware?
As of September 2026, I did my first cabinet hardware swap on a set of kitchen cabinets that had been in my apartment for over five years. The original pulls were dull, and the hinges creaked with every movement. After replacing the pulls with modern, matte-finish handles and swapping out the hinges for quieter ones, the kitchen felt more open and inviting. It wasn’t just about looking good — it was about how the cabinets moved and how they felt when I used them.
The cost was under $30, and I used only a screwdriver and a small set of pliers. I found the hardware at a local hardware store, and I was surprised by how much of a difference a few dollars could make. The new pulls made the cabinets easier to open, and the quieter hinges eliminated a persistent annoyance. The whole project took about an hour, and it was one of the most satisfying DIY moments I’ve had.[1]
Another benefit is the versatility. I’ve used different styles — from minimalist matte black to warm brass — and each time, the effect was different. It’s a great way to test out a new design without a long-term commitment. I’ve also noticed that upgraded hardware makes the space feel more intentional and personal.
I made the mistake of skipping the level the first time I installed new pulls, and one of them came out slightly off. It didn’t look great and was harder to use. Now, I always use a level to ensure everything is perfectly aligned.
Part of our Hardware swaps before after projects guide.
How to Replace Cabinet Hinges Smoothly
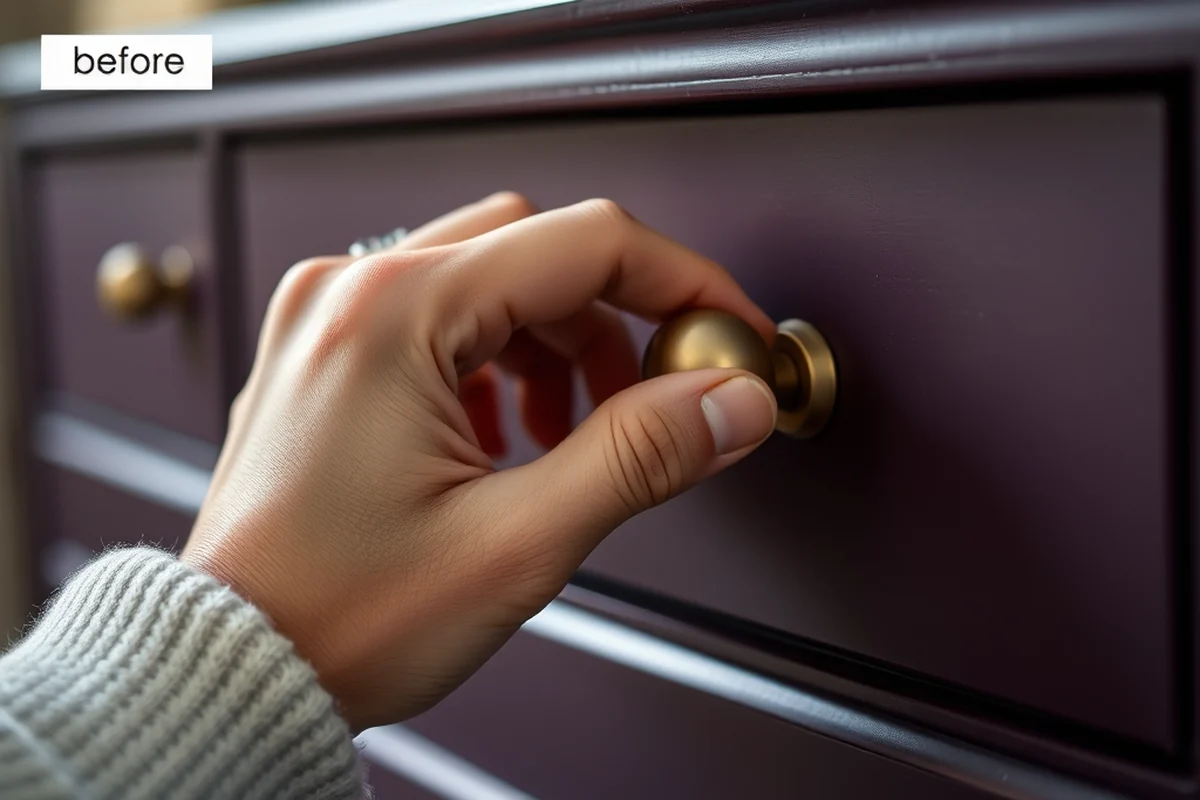
Replacing cabinet hinges is one of the most straightforward hardware swaps I’ve done. It took about 20 minutes, and I had all the tools I needed. The key was finding hinges that matched the existing ones in size and style. I used a small screwdriver to remove the old ones and installed the new ones in the same way.
I chose a set of soft-close hinges, which not only made the cabinets close more quietly but also prevented them from slamming shut. It was a small change, but it made the kitchen feel more serene and functional. I was surprised by how much the soft-close feature improved the daily routine — especially when I was in a rush.
I also noticed that the new hinges made the cabinets easier to open and close. The difference was subtle, but it added up over time. It was one of the few DIY projects I’ve done where the cost was so low and the return so high.
A quiet cabinet door can change the entire mood of a kitchen.
Related: Diy hardware swaps before
Upgrading Drawer Slides for Better Functionality
I replaced the drawer slides in my kitchen cabinets after they started sticking. The original ones were old and had become stiff over time. I bought new, full-extension slides that allowed the drawers to open all the way, making it easier to access items at the back. It took about an hour, and the results were immediately noticeable.
The new slides were heavier and more durable, and they made a big difference in how the drawers moved. I was impressed by how smoothly they glided, and I could feel the difference right away. The cost was around $20 for the slides and a few screws, which was well worth the upgrade.
Another benefit was the lifespan of the new slides. I’ve had the original ones in my kitchen for over a decade, but they’ve started to show signs of wear. The new ones are a much better investment, and I’m hoping they’ll last for years.
I made the mistake of buying slides that were slightly too short, and the drawer didn’t fit properly. I had to return them and buy a different size. Now, I always measure the drawer first to avoid this issue.
“There’s something deeply satisfying about standing in your own home, looking at a project you just finished, and realizing it was all done with tools…”— Handlelane editors
Related: Hardware swaps before after projects on a budget
How to Install a New Door Handle Without a Drill
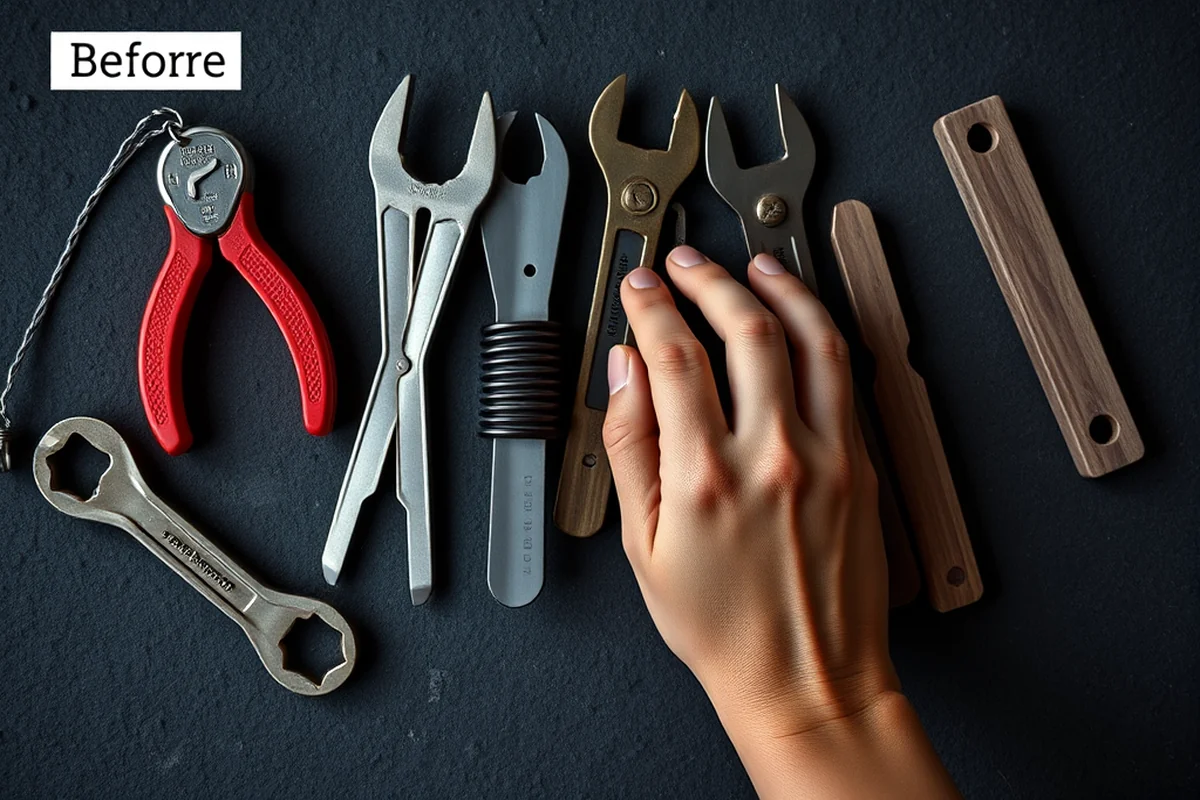
I wanted to upgrade the handle on my bedroom door, but I didn’t have a drill. Instead, I used a screwdriver and a set of replacement parts. It took about 45 minutes, and the new handle was a perfect fit. I was surprised by how easy it was — even without a drill.
I bought a handle that had pre-drilled holes, which made the installation much easier. I used a small screwdriver to remove the old handle and then attached the new one using the same screws. The process was straightforward, and I didn’t need to do any drilling or cutting.
I was also careful to make sure the new handle matched the door’s style and size. I had a few options to choose from, and I picked one that complemented the room’s decor. It was a small change, but it made a big difference in how the room looked and felt.
Related: Quick hardware swaps before
Replacing a Cabinet Pull in Just 10 Minutes
I did a quick cabinet pull swap on a kitchen cabinet and was surprised by how fast it was. It took less than 10 minutes, and I had all the tools I needed. The new pull was a matte finish, which looked great against the cabinet’s color.
I used a small screwdriver to remove the old pull and then attached the new one using the same screws. I was careful to make sure the new pull was aligned properly, and I used a level to double-check. The result was immediate — the cabinet looked more modern and had a cleaner look.
I was also impressed by how easy it was to find the new pull. I bought it at a local hardware store, and it was a matter of minutes to install. It was a small change, but it made a big difference in the overall look of the kitchen.
💰 Budget Build
A low-cost version using hardware from a dollar store or secondhand market.
⏰ Weekend Version
A quick, no-drill upgrade that can be completed in an hour or less.
🌟 Upgraded Finish
A version with high-end hardware for a more polished, modern look.
🏠 Small-Space Adaptation
Tailored for apartments or small homes, focusing on compact and versatile hardware.
🔒 Rental-Safe Option
A version that doesn’t damage walls or cabinets, ideal for renters.
| The mistake | Why it happens | The fix |
|---|---|---|
| Skipping the level during installation. | This can lead to misaligned hardware, which looks unprofessional and may affect functionality. | Always use a level to ensure everything is perfectly aligned. |
| Choosing the wrong size of hardware. | This can result in a poor fit and make the installation difficult or impossible. | Measure the existing hardware carefully before purchasing new parts. |
| Forcing the new hardware into place. | This can damage the cabinet or the hardware, and it may not fit properly. | Use the correct tools and take your time to ensure a proper fit. |
| Not checking for compatibility with existing hardware. | This can lead to installation issues and the need for additional parts. | Always check the manufacturer’s specifications to ensure compatibility. |
Related: Budget hardware swaps before
Simple Hardware Swaps Before
Related: Hardware swaps before ideas
Refreshing Cabinet Knobs with Minimal Effort
A quick and effective way to modernize your kitchen or bathroom cabinets is by swapping out old knobs for new ones. This upgrade requires minimal tools and can be completed in under an hour with the right approach.
I recently replaced the outdated knobs on my kitchen cabinets with brushed nickel ones, and the difference was immediately noticeable. The process involved removing the old knobs using a flathead screwdriver, then threading the new ones onto the existing screws. I made sure to choose knobs that fit the screw size and depth of the original hardware to avoid any gaps or misalignment.
To ensure a seamless look, I matched the new knobs with the style of my existing cabinet pulls. I used a small amount of wood glue on the back of the new knobs before tightening them, which helped prevent any loosening over time. This small step made a big difference in stability and longevity.
I also took the opportunity to clean the cabinet surfaces and wipe away any dust or grime that had accumulated around the old knobs. This added step not only made the new knobs look cleaner but also gave me a chance to inspect the condition of the cabinet doors and hinges. Overall, this simple hardware swap was a quick and affordable way to give my kitchen a fresh, updated appearance without any major renovations.
Common Questions
Can I upgrade cabinet hardware without removing the cabinet doors?
How do I choose the right drawer slides for my cabinets?
Is it possible to install a new door handle without a drill?
How long does it take to replace cabinet hinges?
References
- Eastern Massasauga Rattlesnake: Ohio Population Survey and ... (rosap.ntl.bts.gov)
Cite this guide
Handlelane (2026). Simple Hardware Swaps Before. https://handlelane.com/simple-hardware-swaps-before/
Feel free to cite or share this guide.