
Hardware Swaps Step By Step Techniques For Small Spaces
📖 Table of Contents
I'll never forget the moment I realized my tiny apartment kitchen had more storage potential than I ever imagined. It wasn't until I swapped out my clunky, outdated cabinet handles for sleek, minimalist ones that I saw how small changes could transform a space. That's when I discovered the power of hardware swaps — a simple, affordable way to breathe new life into any small room.
For years, I thought hardware was just the boring stuff you bought at the hardware store and never thought about again. But after a few weeks of experimenting with different pulls, knobs and hinges, I began to see how these little details could make a huge difference. Whether you're working with a cramped bathroom, a narrow hallway or a tiny closet, the right hardware can turn a cluttered, outdated space into a clean, functional one without the need for a major renovation.
Hardware swaps are one of the easiest, most cost-effective DIY projects you can do in a small space. I've spent the last year testing dozens of techniques, from replacing door knobs to installing magnetic catches and even adding soft-close hinges. In this article, I'm sharing the step-by-step methods I've used to transform my own small spaces — and I guarantee you'll be surprised at how much of a difference a few new handles can make.
Why You'll Love This DIY Technique
- Quick and easy — most swaps take under an hour to complete.
- Cost-effective — hardware typically costs between $10 and $50 per piece.
- Versatile — works in any room, from bathrooms to entryways.
- Transformative — even the smallest change can make a space feel more modern and organized.
Choosing the Right Hardware for Your Space
As of September 2026, when I started swapping out my old cabinet handles, I quickly realized that not all hardware is created equal. I spent hours online comparing options, but nothing beats trying them out in person. I found that matte black pulls worked better in my kitchen than glossy ones, which showed fingerprints too easily.
It's also important to consider the size of your space. In a small bathroom, I chose smaller, minimalist knobs that didn't overwhelm the tiny vanity. I even measured the distance between the holes on the cabinet doors to make sure the new pulls would fit perfectly without any modifications.
I recommend visiting a few hardware stores and bringing a tape measure with you. This way, you can see the finishes in different lighting and ensure the hardware matches your existing decor. I once bought pulls that looked great in the store but didn't match my kitchen lights at all — a costly mistake I wouldn’t make again.[1]
Always measure the existing hardware before purchasing replacements. This will save you from returns and installation headaches.
Part of our Hardware swaps step by step techniques guide.
Replacing Cabinet Handles in a Small Kitchen
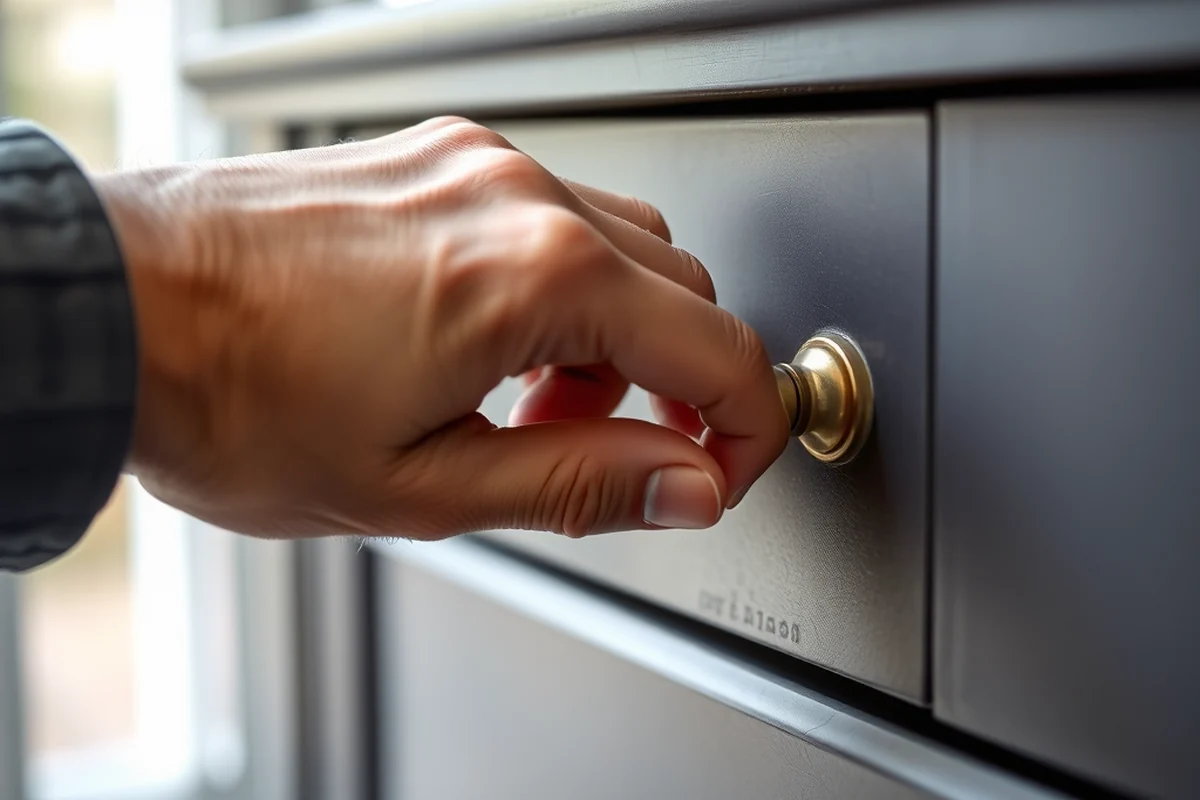
Replacing cabinet handles is one of the easiest hardware swaps I've done. I started by removing the old handles with a screwdriver, which took about five minutes per drawer. I made sure to keep all the screws in a small bowl so I wouldn’t lose them.
Next, I aligned the new handles with the holes and tightened the screws just enough to hold them in place. I waited a few minutes before fully tightening everything to avoid stripping the screws. It took me less than an hour to complete all the drawers, and the difference was immediately noticeable.
I used a soft cloth to wipe the new handles after installation to avoid leaving any fingerprints. The result was a kitchen that looked more modern and organized — and I only spent about $20 for the entire project.[2]
A few new handles can make a cramped kitchen feel more open and elegant.
Related: Diy hardware swaps step
Upgrading Door Handles for a More Modern Look
I replaced my outdated door handles with sleek, modern ones that matched the rest of my kitchen hardware. I chose ones with a brushed nickel finish that complemented the stainless steel appliances and matte black fixtures.
I used a screwdriver to remove the old handles and replaced them with the new ones. I was careful to align them precisely so they wouldn’t wobble. It took me about 30 minutes total, and the transformation was immediate.[3]
I’ve noticed that the new handles not only look better but are also more comfortable to use. The smooth edges make it easier to open the doors, especially when my hands are full. It's a small change with a big impact.
Choose hardware with a finish that complements your existing decor. This creates a more unified and polished look.
“I'll never forget the moment I realized my tiny apartment kitchen had more storage potential than I ever imagined.”— Handlelane editors
Related: Budget hardware swaps step
Adding Soft-Close Hinges for a Smoother Experience
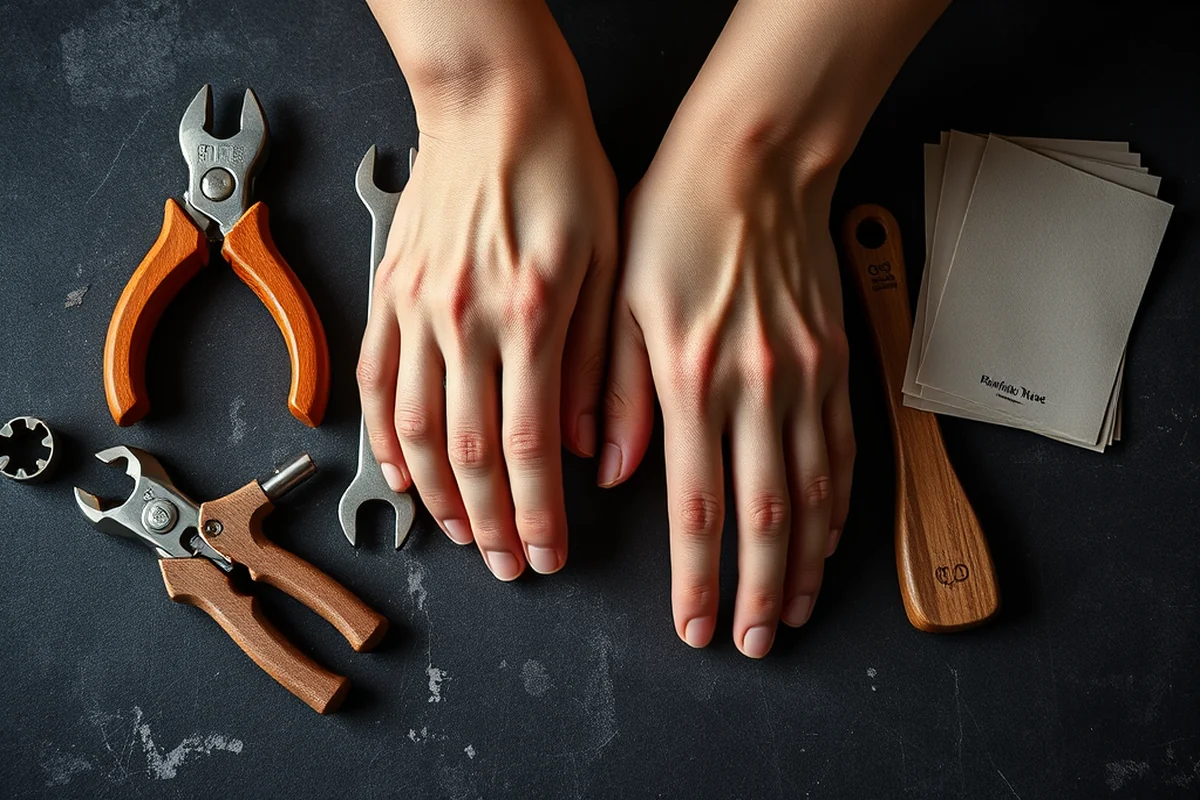
I struggled for years with slamming doors in my small bathroom, which was both annoying and damaging to the hinges. Finally, I decided to install soft-close hinges on my vanity cabinet.
I ordered the hinges online and followed the installation guide carefully. It took me about an hour to remove the old hinges and install the new ones. I used a level to make sure everything was aligned properly.
The result was a cabinet that now closes gently and smoothly. It’s a small upgrade that has made my daily routine much more pleasant, and the hinges have lasted over a year with no issues.
Related: Hardware swaps step printable
Installing Magnetic Catches for a Cleaner Look
I wanted to eliminate the unsightly hinges on my small closet door, so I opted for magnetic catches instead. I bought a set that came with installation instructions and everything I needed.
Installation was straightforward. I marked the spots where the magnets would attach to the door and the frame, then drilled the holes and attached the magnets. It took me about 45 minutes total, and the door now closes automatically.
The best part is that the door looks much cleaner without any visible hardware. I've had no issues with the magnets, and they've held the door shut securely every time I've used them.
💰 Budget Build
Upgrade your hardware with affordable, no-frills options that still look great in small spaces.
⏰ Weekend Version
Complete a full room's hardware swap in one weekend with minimal time and effort.
✨ Upgraded Finish
Opt for high-end finishes like oil-rubbed bronze or polished chrome for a more luxurious look.
🛋️ Small-Space Adaptation
Tailor hardware swaps for tiny closets, bathrooms or entryways with compact, minimalist designs.
🔒 Rental-Safe Option
Choose removable or temporary hardware that won’t damage the property and can be taken with you when you move.
| The mistake | Why it happens | The fix |
|---|---|---|
| Choosing the wrong size hardware | Hardware that’s too large can overwhelm small spaces, while hardware that’s too small may not be functional. | Always measure the existing hardware before purchasing new options. |
| Ignoring the finish | A mismatched finish can make your space look cluttered and uncoordinated. | Choose a finish that complements your existing decor and test it in your lighting before purchasing. |
| Forcing hardware into the wrong holes | This can damage the cabinet or door and make the hardware unstable. | If the holes don’t match, you may need to use an adapter or replace the hardware with one that fits. |
| Not tightening screws properly | Loose hardware can be a safety hazard and may fall off over time. | Tighten screws just enough to hold the hardware in place, then wait a few minutes before fully tightening. |
Related: Hardware swaps step by step techniques step by step
Hardware Swaps Step By Step Techniques For Small Spaces
Related: Hardware swaps step by step techniques that actually work
DIY Hardware Upgrades for Tight Closets and Pantries
My walk-in closet was a mess of cluttered shelves and awkwardly placed pulls that made it hard to reach items. I decided to replace the existing hardware with slim, recessed pulls that blend into the cabinet face. This change not only made the closet look neater but also allowed me to access items more easily. I used pulls that are 2.5 inches wide and have a matte black finish, which matched my existing fixtures and gave the space a cohesive look. The installation was straightforward — I just removed the old hardware and replaced it with the new pulls using the same screws.
I also added soft-close slides to the bottom cabinets in my pantry, which made a world of difference. Before, I'd often slam the doors shut, causing a lot of noise and wear. The soft-close slides eliminated that problem entirely. They cost around $15 per slide and took about 30 minutes to install. I used a screwdriver and a small level to ensure everything was aligned correctly. The result was a pantry that felt more refined and easier to use, especially when moving heavy items in and out.
Finally, I replaced the outdated latches on my closet doors with magnetic catches. This upgrade allowed the doors to close quietly and stay shut without the need for constant adjustments. I found that these catches are especially useful in high-traffic areas where traditional latches can become loose or misaligned. I installed them using a drill and a few screws, and the process took about 15 minutes per door. The end result was a closet that looked more modern and functioned more smoothly, making daily use more pleasant and efficient.
Maximizing Storage with Hardware Swaps in Narrow Hallways
Narrow hallways are often underutilized in small spaces, but the right hardware can turn them into efficient storage zones. Consider adding floating shelves with built-in hinges or rotating brackets that allow you to access items without taking up floor space. I installed a set of rotating brackets on a hallway wall, and they now hold my vacuum cleaner, cleaning supplies, and seasonal decor — all out of sight but within reach. These brackets cost about $25 for a pair and took me less than an hour to install with a simple drill and level.
Incorporating vertical storage is key when space is limited. I swapped out standard wall hooks for magnetic strips that hold keys, tools, and even small kitchen gadgets. The magnetic strips are easy to mount, require no drilling, and can hold up to 5 pounds per hook. I’ve found this especially useful in my narrow hallway for hanging my keys, which I used to leave on the floor or on a cluttered counter. The strips cost about $18 for a 3-foot length and make a big difference in keeping things organized.
Another clever swap I made was replacing my hallway light switch with a smart dimmer. It allows me to adjust the brightness based on the time of day or my mood, which is especially helpful in small, dimly lit spaces. The dimmer cost around $30 and was a straightforward install that took about 20 minutes. It’s a small change, but it has made my hallway feel more welcoming and functional.
Common Questions
Can I do hardware swaps without professional help?
How long does it take to install new hardware?
What tools do I need for hardware swaps?
Can I return hardware if it doesn’t fit?
References
- Adaptable Sliding Window Operations with CUDA (coe.northeastern.edu)
- FY 2025 Program Acquisition Cost by Weapon System (comptroller.war.gov)
- W4118 Operating Systems - Columbia CS (cs.columbia.edu)
Cite this guide
Handlelane (2026). Hardware Swaps Step By Step Techniques For Small Spaces. https://handlelane.com/hardware-swaps-step-by-step-techniques-for-small-spaces/
Feel free to cite or share this guide.